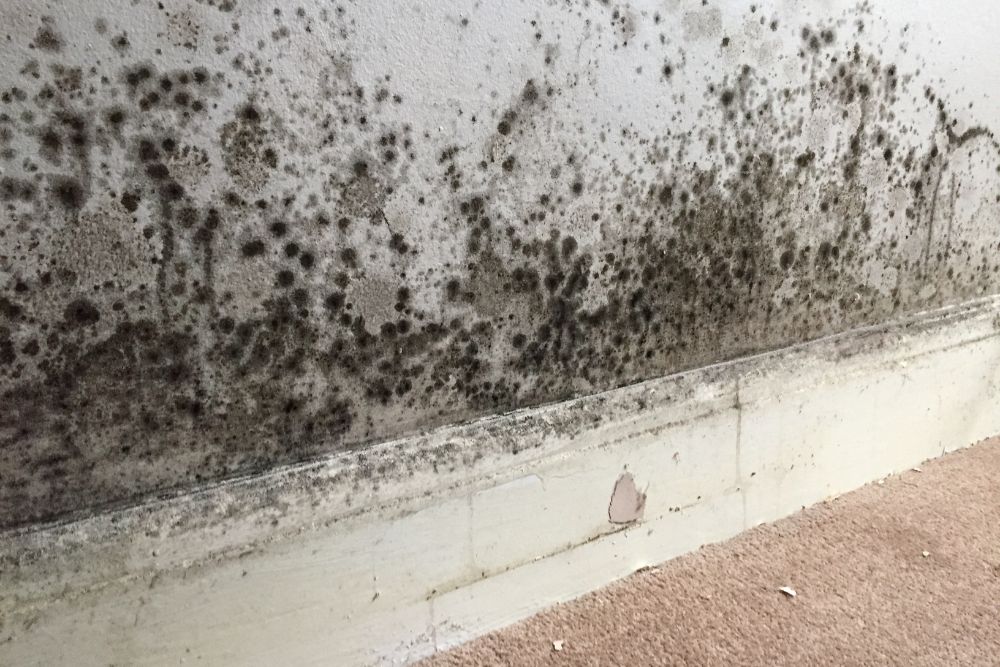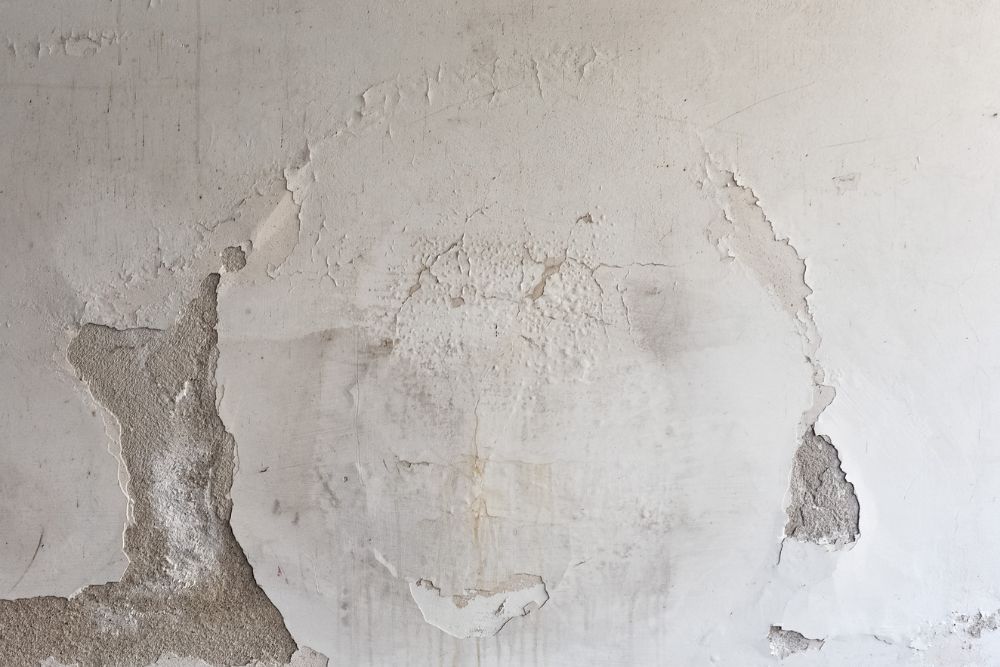
Moisture accumulation within residential walls is a common issue that homeowners face. It often leads to serious structural damage and potential health risks. The presence of moisture is typically a byproduct of environmental conditions, subpar construction, or inadequate insulation.
Detecting and addressing this problem early is paramount to maintaining the integrity and safety of the home. In this guide we will cover the causes of wall moisture, how to identify signs of dampness, effective remediation strategies, and the acceptable moisture levels within walls.
Key Takeaways
- Moisture on house walls can be caused by condensation, poor ventilation, excessive humidity, and structural issues.
- Detecting moisture in walls can be done through visual inspection, moisture meters, infrared cameras, and the ‘touch’ test.
- Fixing moisture in walls requires identifying and resolving the source of moisture, applying waterproof sealants, and engaging professional contractors for severe cases.
- Acceptable moisture levels in Australian house walls range between 12% and 17%, depending on the wall material and climate conditions. Consistently high moisture levels can lead to mould, mildew, and structural damage.
Why Does Moisture On Walls Occur?
Although several factors can contribute, the occurrence of moisture on house walls is predominantly due to condensation, the process where humid air comes into contact with a cold surface, causing the moisture in the air to change from a gas to a liquid state. This phenomenon is more prevalent in colder months when the difference in temperature between the interior and exterior of a house is more pronounced.
Additional factors that can lead to wall moisture include poor ventilation, excessive humidity, and structural issues such as leaks or damp proofing failures leading to rising dampness. These conditions can exacerbate condensation, creating an environment conducive to molud growth and structural damage.
For instance, inadequate ventilation can result in trapped humidity, leading to continuous condensation. Similarly, structural flaws can facilitate water ingress, contributing to damp walls.
Understanding the reasons behind wall moisture is essential for effective resolution. Depending on the cause, solutions may include improving ventilation, reducing interior humidity, or addressing structural deficiencies.
Ultimately, addressing moisture on walls promptly and effectively can help maintain a healthy and comfortable living environment, while also preserving the integrity of the house structure.
How to Check For Moisture In Walls?
One must know how to detect the presence of moisture in walls to effectively combat its adverse effects. The first line of defense is visual inspection. Look for signs such as discoloration, peeling paint, or warping. If these are present, it’s likely there is moisture within the walls.
However, these signs may not always be visible, particularly if the moisture is deep within the wall. In such cases, a moisture meter is an invaluable tool. This device measures the moisture content of building materials and can detect hidden dampness. It works by sending an electrical signal into the material and measuring the resistance encountered; higher resistance signifies drier material.
Another method is the use of an infrared camera, which can detect temperature differences in the wall surface caused by the presence of moisture. This is a more advanced method, often used by professionals.
Lastly, you can use the ‘touch’ test. If the wall feels cold or damp, it likely holds excess moisture.
How to Fix Moisture In Walls

Addressing moisture in house walls requires a strategic approach to ensure long-term effectiveness. Here are the steps you should take to resolve moisture on your walls.
1. Identifying Moisture Problem Areas
Before you can fix moisture problems in your home’s walls, you’ll need to accurately identify the problem areas. Start by looking for visible signs such as discoloration, damp spots, or moUld growth. You’ll also need to feel the walls for dampness, especially after a heavy rain.
Don’t forget to inspect the basement walls (if you have one), as they’re often susceptible to moisture due to their proximity to the ground. Use a moisture meter for a more accurate diagnosis. It’s a handy tool that measures the moisture level in your walls. However, don’t rely solely on this device.
Defective plumbing or poor ventilation can also cause moisture issues, so it’s crucial to check these areas as well. By identifying the source, you’re one step closer to a moisture-free home.
2. Steps to Remove Wall Moisture
First, you’ll need to identify the source of the moisture problem in your home’s walls. Look for damp spots, discoloration, or peeling paint as indicators. Once you’ve pinpointed the source, start drying out the area. You can use fans, heaters, or dehumidifiers to expedite the drying process.
Next, remove any damaged material such as drywall or insulation. Be careful not to damage the structural integrity of the wall. Then, treat the area with a mould-killing product to prevent future growth.
3. Prevention Strategies for Damp Walls
To prevent damp walls in your home, you’ll need to implement a few crucial strategies.
Start by improving your home’s ventilation. Open windows regularly, especially when cooking or showering, to allow moisture to escape. Consider investing in exhaust fans or dehumidifiers if you’re living in a particularly humid area.
Next, check for leaks in your roofing or plumbing. Water seeping into your walls from these sources can cause significant dampness. Fix these issues promptly to keep your walls dry.
Lastly, try to insulate your home effectively. Cold surfaces encourage condensation, which leads to dampness. By properly insulating your home, you can maintain warmer wall surfaces, reducing the likelihood of condensation and thus preventing damp walls.
If the source of the dampness is from a more serious problem such as rising damp, you’ll need professional help to resolve the issue.
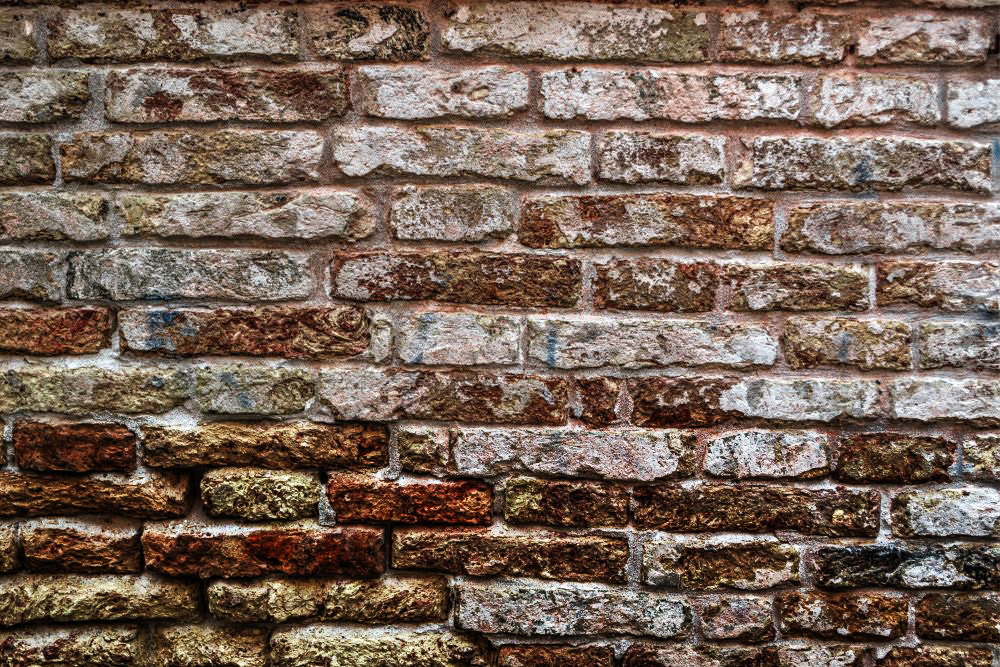
How to Fix Moisture In Brick Walls
 Effective remediation of moisture in brick walls necessitates a comprehensive understanding of the factors contributing to the problem and the implementation of appropriate solutions.
The first step is to identify the source of the moisture which could be a leaky pipe, faulty gutters, rising dampness or condensation build-up. Once identified, it is crucial to resolve the issue to prevent further moisture seepage.
For minor dampness, homeowners can apply a waterproof sealant to the brick surface. However, for severe cases, a professional contractor should be engaged to install a damp-proof course or a cavity wall.
What Are the Acceptable Moisture Levels In Walls In Australia?
In Australia, the acceptable moisture levels in house walls generally range between 12% and 17%, depending on various factors such as wall material and climate conditions. This range is considered safe as it provides a balance between dryness that might lead to brittleness and excessive moisture that can result in mould growth and structural damage.
The type of wall material significantly affects the acceptable moisture level. For instance, timber walls can safely accommodate higher moisture levels than brick or concrete walls. The regional climate also plays a crucial role. In areas with high humidity, walls can naturally absorb more moisture without causing harm.
However, consistently high moisture levels, above the 17% threshold, can cause serious problems, including mould, mildew, and structural damage. Thus, regular monitoring of wall moisture levels is essential for homeowners in Australia. Moisture meters are commonly used for this purpose.
Frequently Asked Questions
Can Moisture in the Walls Cause Health Problems?
Yes, moisture in walls can lead to mould growth, which may cause health problems such as allergies, asthma, and other respiratory conditions. It’s essential to identify and address moisture problems promptly to prevent potential health risks.
What Are the Signs of Excessive Moisture in House Walls?
Signs of excessive moisture in house walls include damp spots, peeling or bubbling paint, a musty smell, mould growth, and wall discoloration. These indicators suggest potential water intrusion that needs immediate attention.
How Long Does It Take for Moisture to Cause Damage to Walls?
The duration for moisture to cause damage to walls can vary significantly. Factors include the degree of moisture, material of the wall, and environmental conditions. However, damage can typically begin to appear within 24-48 hours.
Is There a Device That Can Detect Moisture in Walls?
Yes, there are devices called moisture meters that can detect the presence of moisture in walls. These tools use either pin or pinless technology to gauge the moisture content and can help in identifying hidden water damage.
Does Home Insurance Cover Damage Caused by Moisture in the Walls?
Home insurance policies vary, but generally, damage caused by sudden and accidental events like a burst pipe is covered. However, damage due to prolonged moisture or neglect, such as mould, is typically not covered.
How Long Does It Typically Take to Fully Resolve a Moisture Problem in Home Walls?
It really depends on the severity of the moisture issue. But generally, you’re looking at a couple of weeks to a few months.
How Much Does It Usually Cost to Fix Moisture in Walls of a House?
The cost to repair wall moisture can vary greatly. It’s dependent on factors like the extent of the damage and the repair method. You could be looking at anywhere from a few hundred to several thousand dollars.
Are There Specific Breeds of Mould That Tend to Grow on Damp Walls in Houses?
Yes, there are specific types of mould that favour damp walls. Black mould, Penicillium, and Aspergillus are common. They’re harmful, causing respiratory issues, so you’d want to get rid of them quickly.
Do You Need Help Resolving Damp Walls?
As remedial builders, we specialise in fixing damp walls, especially if the problem is from rising damp. Speak to us today to diagnose and resolve your damp walls by calling 0432 899 026 or emailing info@smrbuilders.com.au.